Software Updates
Safran periodically releases new versions of software for SecureSync. These updates1 are offered for free and made available for download from the Safran website. If you register your product, you will be notified of software updates.
To carry out a software update:
- In the Web UI, navigate to Tools > Upgrade/Backup.
- Determine your System software version in the System Configuration panel: Proceed to the next step if it is lower than the software version you plan on installing.
- Free up disk space, if needed:
Under Tools > Upgrade/Backup > Disk Status, check Percent Used: If the number is greater than 70%, free up disk space.
(NOTE: If required, existing logs can be archived; for details see Saving and Downloading Logs.)
To free up disk space:- Delete old log files: Tools > Upgrade/Backup > Disk Status > Clear All Logs.
- Delete old statistics files: [~] > Clear All Stats.
- Delete previous Upgrade files: Tools > Upgrade/Backup > Actions > Update System > Delete Upgrade File(s). Note that Delete Upgrade File and Update System cannot be selected at the same time.
- Download the latest upgrade software bundle from the Safran website onto your PC.
-
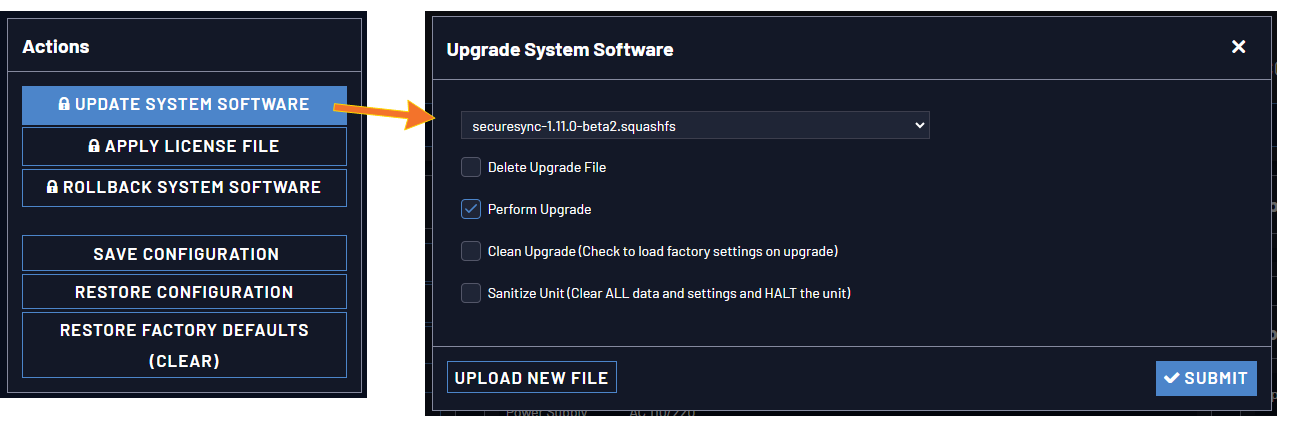
Perform the actual upgrade by navigating to TOOLS > Upgrade/Backup > Actions: Update System Software. Upload the upgrade software bundle previously downloaded onto your PC (
updateXYZ.squashfs).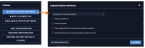
Once you have uploaded the software bundle, the following checkbox options will be presented:
-
Remove software bundle: Cancel the upgrade, and remove the uploaded software bundle from the system.
-
Perform update: Perform the software upgrade.
-
Perform clean update: Factory settings will be applied during the upgrade; any custom settings you may have applied previously will be overwritten! This also includes the unit's static IP address (if you applied one): it will be replaced by the default DHCP address (i.e., 0.0.0.0.) Also note that the browser session will terminate: After reconfiguring the unit's IP address, you will need to login to the Web UI in a new browser session.
-
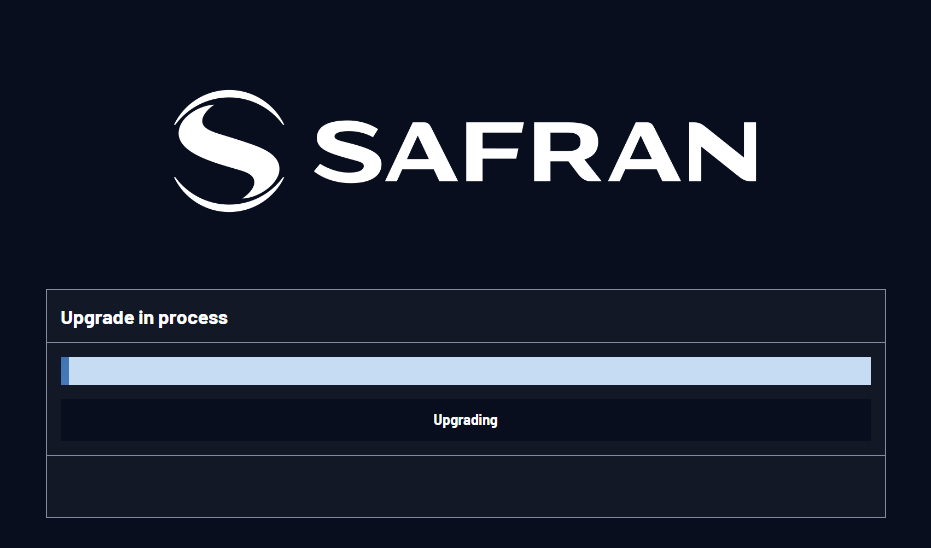
- Click Submit to carry out the update. A progress bar will estimate status information:

- Verify that the update was successful: Navigate to Tools > Upgrade/Backup, and confirm the new SW version in the System Configuration panel.
Note: Should you use DHCP, a new IP address may be assigned to your unit, and you may have to point your web browser to it.
Note: In the event that the update failed, see Troubleshooting Software Update.